Maintenance
- Replace felt pads as they wear
- Check all fasteners every 4–6 weeks
- No lubricants on the brake mechanism
Safety
- Keep hands clear of flywheel when adjusting
- Don't exceed reasonable tension levels
- Use in a clear area with proper footing
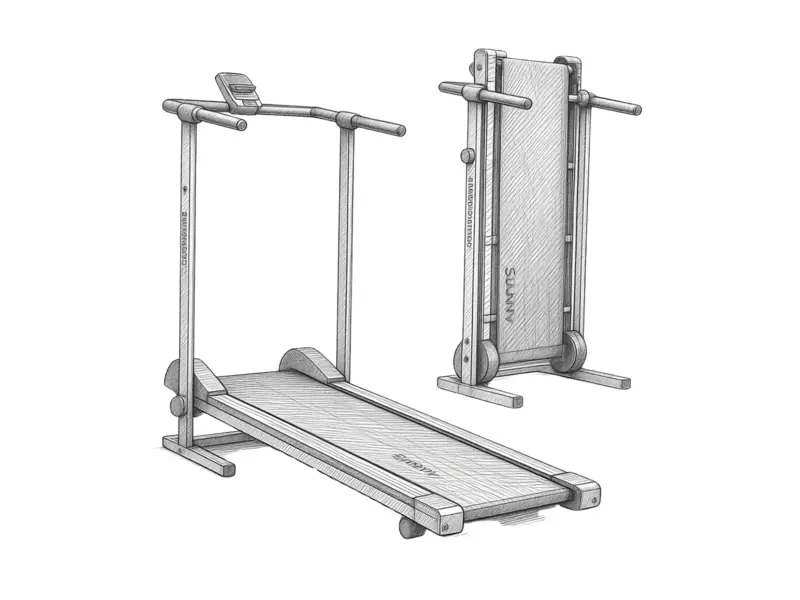
Convert your Sunny Health Manual Treadmill into a backwards-walking trainer.
Follow the Sunny Health official assembly guide ↗ to build your SF-T1407 treadmill — with one important exception:
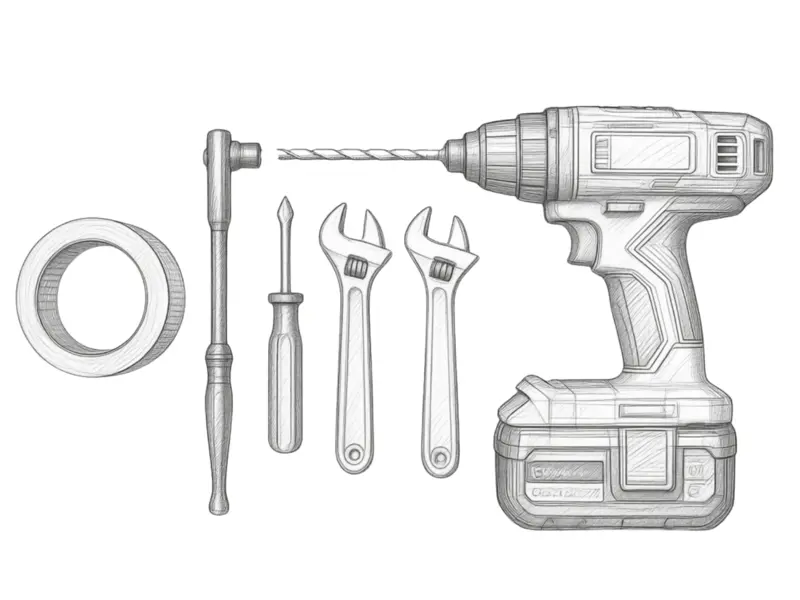
Three steps to drill the mounting holes cleanly and accurately.
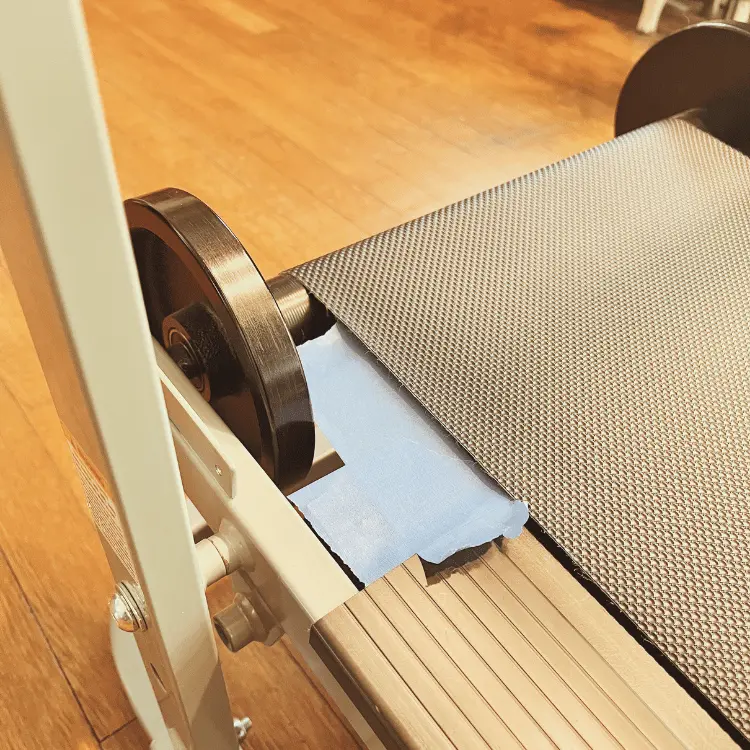
Cover the drill area to reduce tear-out and create a clean marking surface.
Optional but recommended.
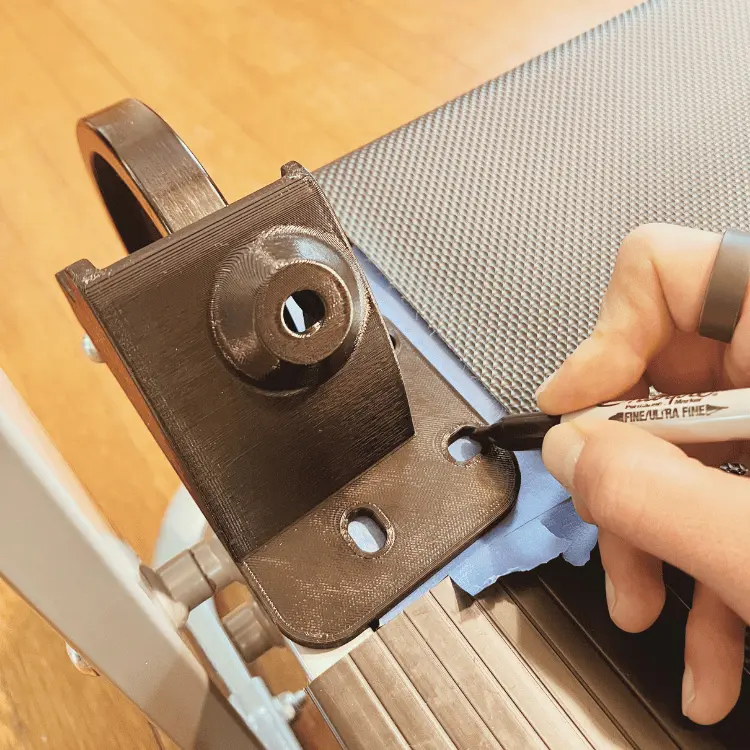
Position the add-on body and trace all three mounting holes with a pencil or marker.
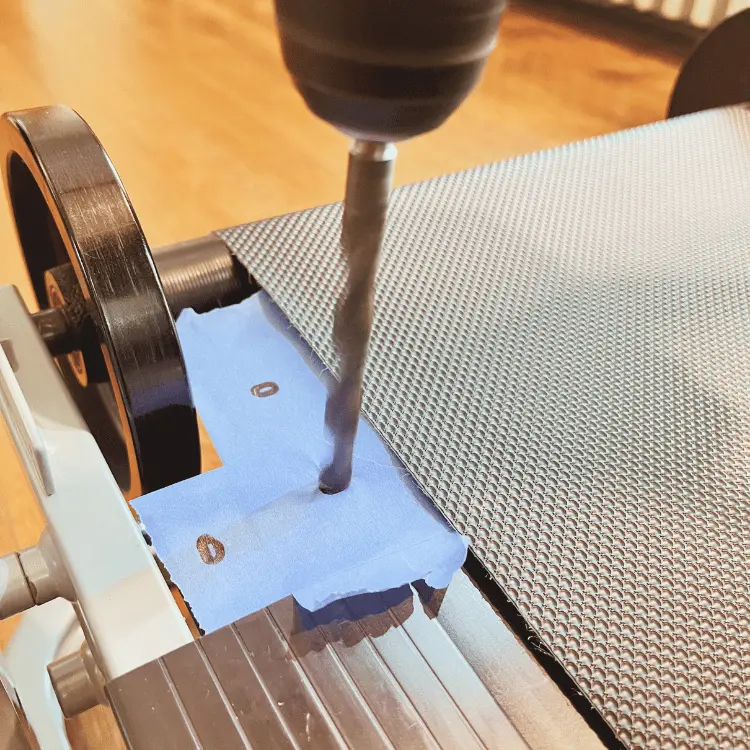
5/16" bit. Straight through all three marks.
Step up one bit size if bolts fit too tightly.
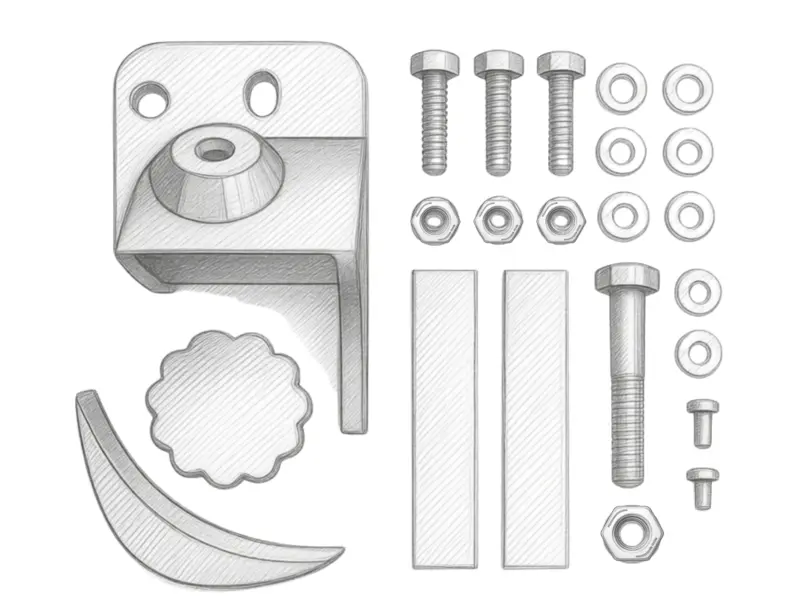
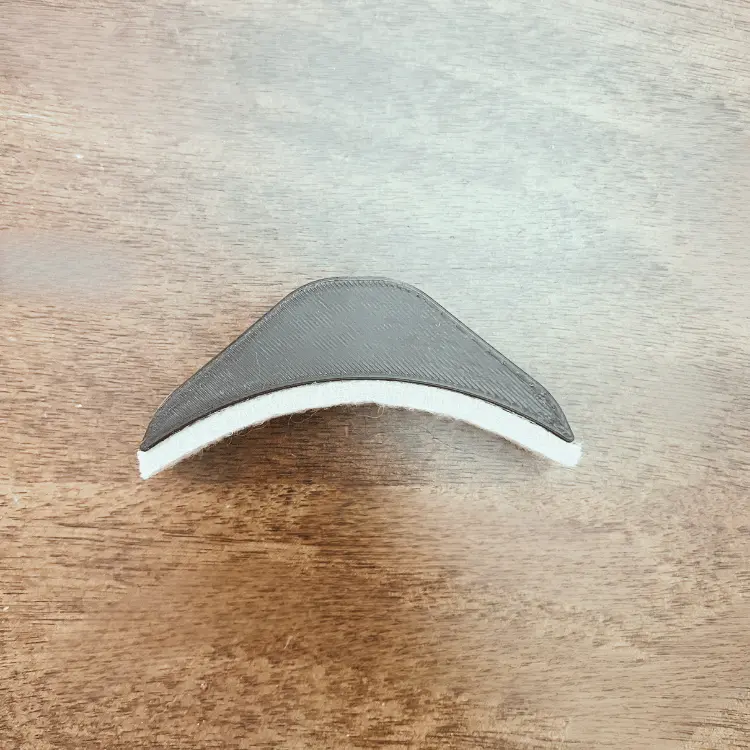
Four steps to put the brake mechanism together before mounting.
Peel and press the felt pad firmly onto the flat braking surface of the brake piece.
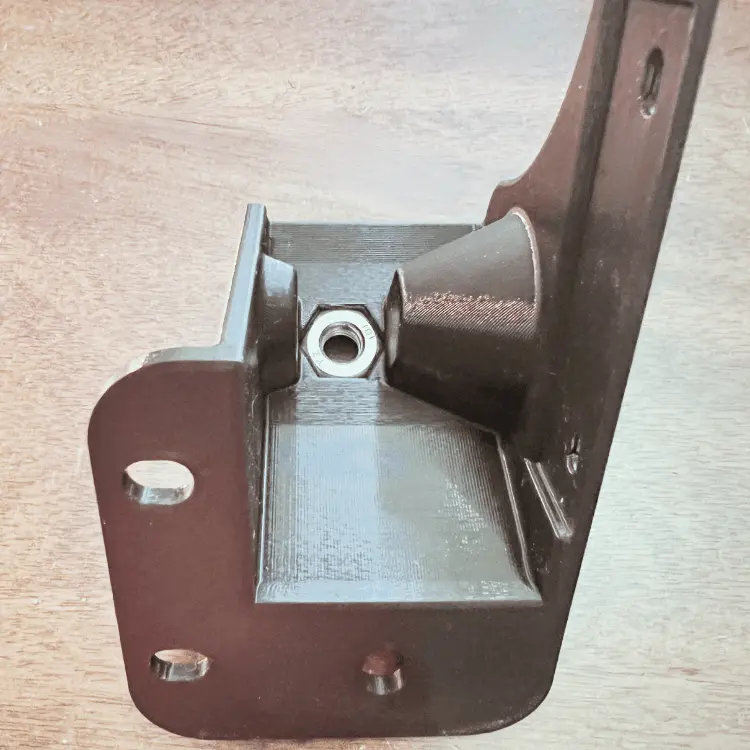
Drop the hex nut into its pocket inside the shroud. You can add a small bead of hot glue or super glue to hold it in place during initial assembly.
Insert through the front opening and thread into the seated nut. Leave mostly backed out.
Optionally press the knob onto the bolt head now and add a drop of hot glue to secure it.


Press knob onto bolt head. Slide brake onto the bolt end. Verify smooth rotation. Thread the bolt in until it reaches the bottom of the brake pocket.
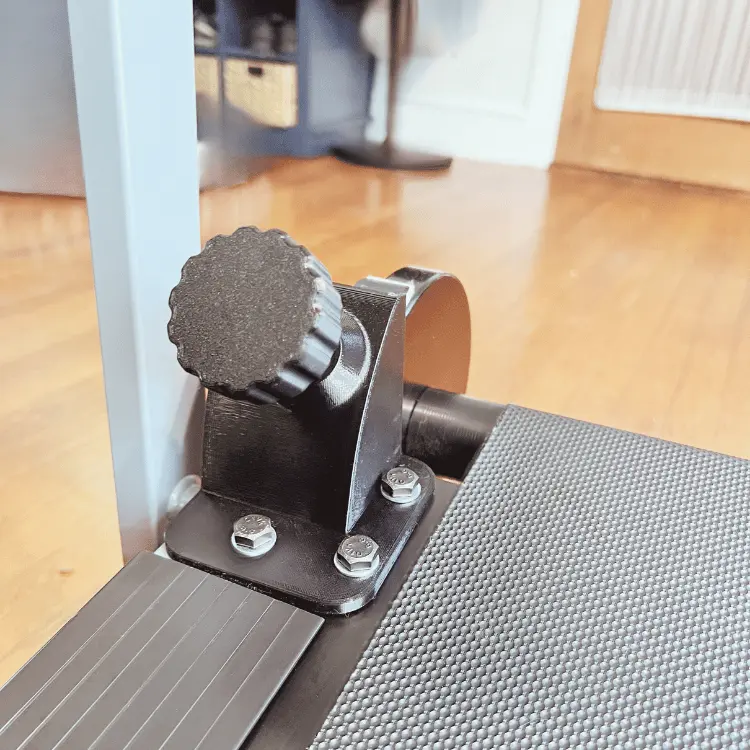
Six steps to bolt the assembled unit onto the treadmill frame.
Align the unit so the brake sits atop the flywheel. Insert 3 M8 bolts with washers from the top.

Reinsert one of the M5 screws into the assembly side. Don't tighten all the way yet.
You saved those from the treadmill's original shrouds, right?
Fold the treadmill into the standing position. From below: flat washer then M8 locknut on each bolt. Hand-thread until snug.
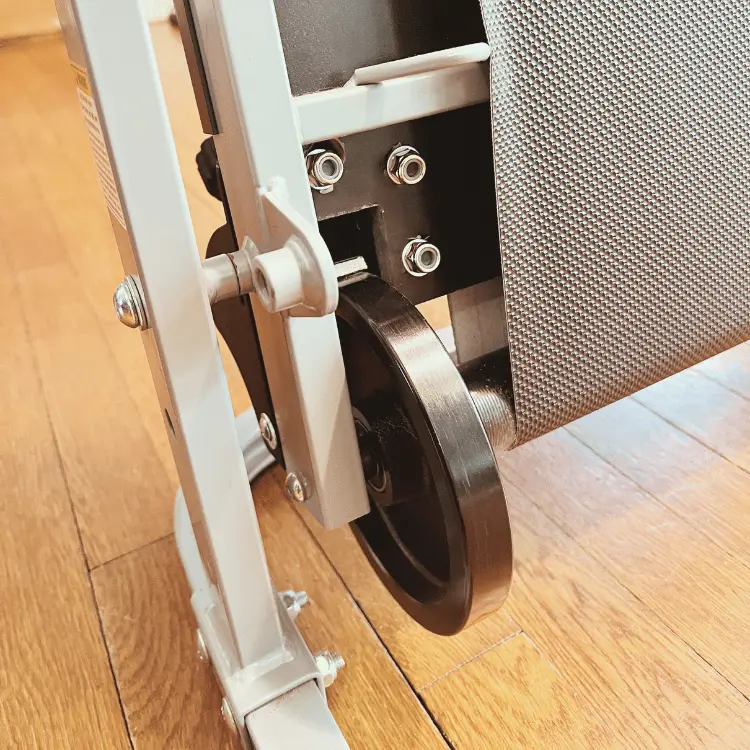
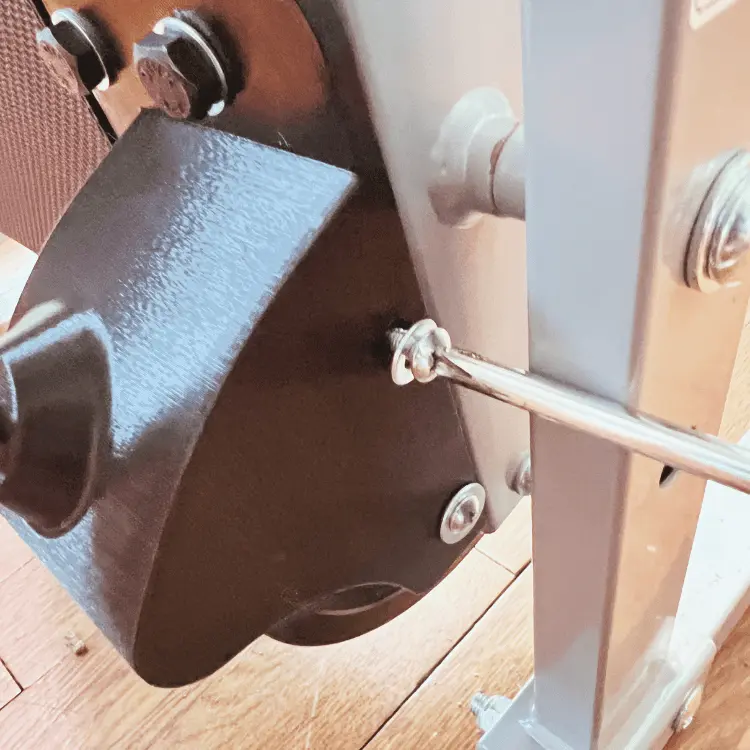
Use two M8 wrenches or socket drivers. Tighten slowly until the unit is locked to the frame.
Do not use a drill. Do not overtighten — the shroud may crack.
Reinstall the remaining M5 screw. Tighten fully.
Hand-tighten only — do not use a drill or overtighten.
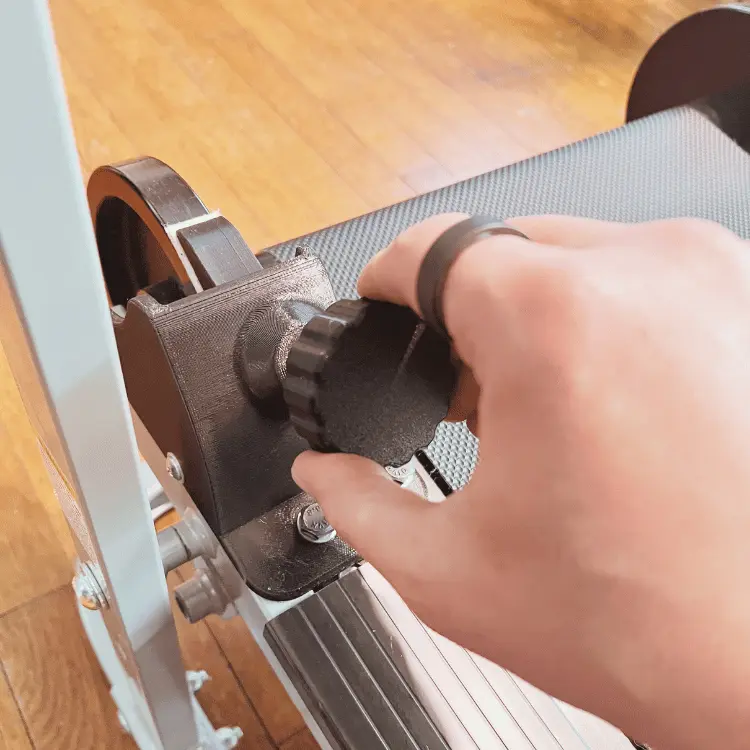
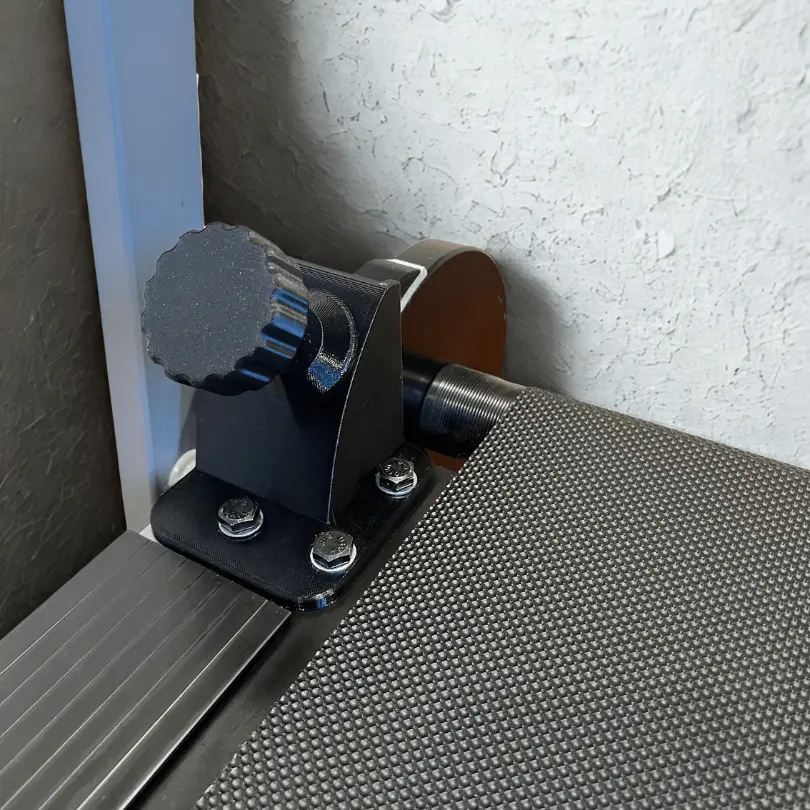
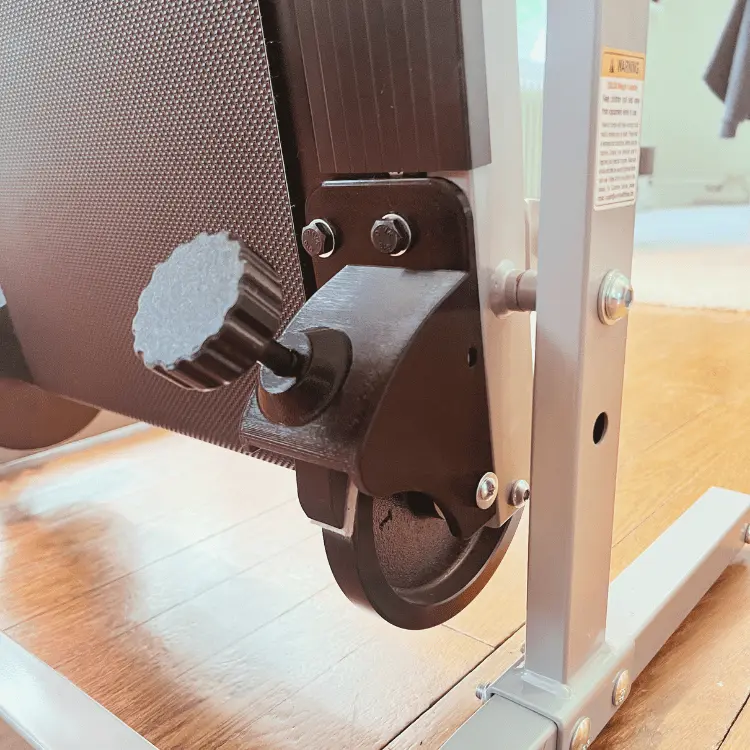
Turn inward to press felt against the flywheel. Dial to your desired resistance. Start slow.
Two training modes.
The core use case is walking backwards against the brake resistance. Good for knee rehab and ATG-style training.
Weight the treadmill base down with plates and it turns into a sled push. More resistance, more effort.